
8414 Sabal Industrial Blvd, Tampa, FL 33619
Hurricane Strong. STH Strong
Mon – Fri 8:00AM – 5:00OM / Sat-Sun – Closed
May 6, 2026 · Reading time: ~11 min
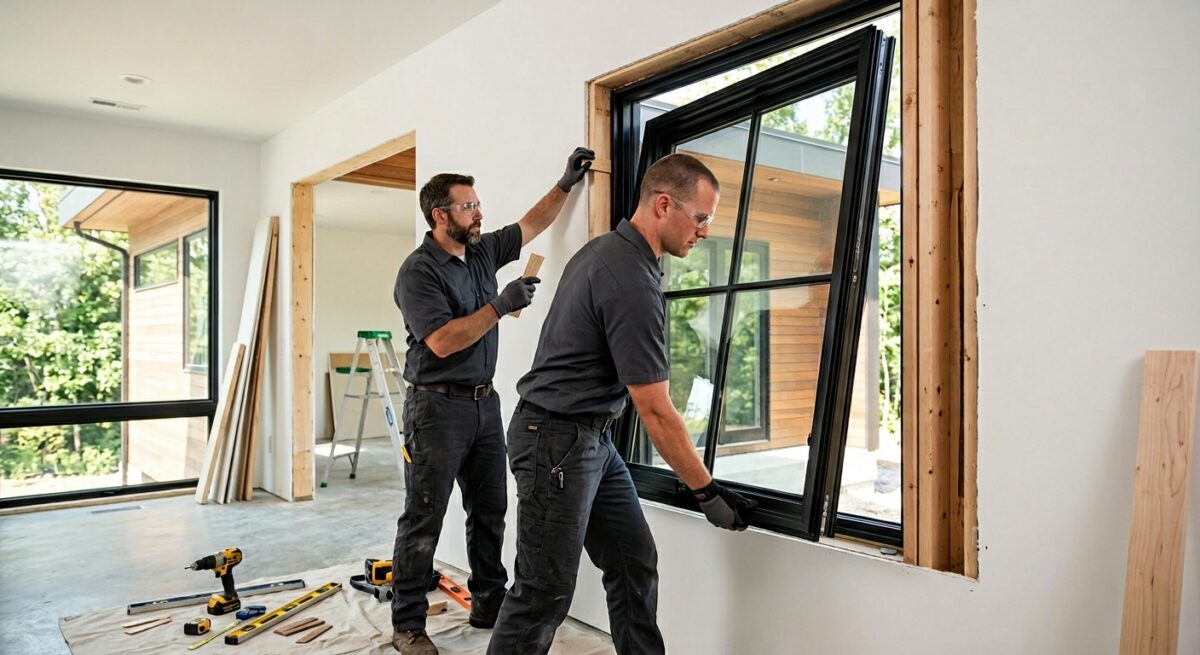
Installation time varies but can range from 2-4 hours per window for experienced DIYers, longer for beginners. Factors include window type and complexity of removal.
Pella windows can be installed in most common wall types (wood frame, brick, stucco), but specific preparation and flashing techniques may differ.
The most common mistake is improper sealing and flashing, leading to water intrusion and air leaks, thus compromising energy efficiency.
Thinking about installing Pella windows yourself in 2026? You absolutely should consider it, especially if saving serious cash is on your radar. The truth is, professional installation can eat up a huge chunk of your budget – sometimes doubling the cost of the windows themselves. This guide is for homeowners in Tampa and beyond who’re ready to roll up their sleeves and take control of their home improvement projects, unlocking significant savings while getting a professional-looking finish.
And that’s not even touching on the sheer satisfaction you get from doing it yourself. It’s a different ballgame than just paying someone. It’s about skill, accomplishment, and knowing you did it right.
There’s a real trend happening right now. More people are ditching the expensive contractors for the weekend warrior approach. Why? For starters, the cost savings are undeniable. But it’s more than that. It’s the pride in a job well done, the learned skill, and the deep satisfaction of transforming your own space with your own two hands. It’s empowering, plain and simple.
Now, Pella isn’t just resting on its laurels. They’ve actually been smart about this. Over the years, Pella has refined their window designs, making them more user-friendly for DIYers. Think about features like pre-drilled holes and clearer instructions. It’s not like the old days where you needed a degree in engineering to get them in straight. They’ve definitely made the process more approachable.
Let’s talk numbers. Here in Tampa, labor costs have really climbed. Getting quotes for window replacements can be eye-watering.
I’ve seen estimates for a full house of Pella windows easily run $15,000 to $25,000 or more, with a good chunk of that being labor. By tackling the installing Pella windows yourself, you can slash that labor cost by potentially 40-50%, bringing the total project cost down dramatically. It’s a big deal for your wallet.
The average cost of window replacement in the US is between $400 and $1,000 per window, but this can easily double in high-cost-of-living areas like major metropolitan regions. DIY installation can reclaim a significant portion of this expense.
Alright, you’re sold on the DIY route. Awesome. But here’s the catch: you can’t just jump in headfirst. Proper prep work is non-negotiable if you want a clean, leak-free installation. I’ve seen too many DIYers skip steps and end up with drafts, water issues, or windows that just don’t operate right. It’s a recipe for disaster. So, let’s get this right from the start.
First things first: what Pella windows are you getting? This isn’t just about looks, though that’s important. You need to consider your climate. For Tampa, energy efficiency is a big deal. Look at Pella’s options with low-E coatings and ENERGY STAR ratings. Are you going for vinyl, fiberglass, or wood? Each has its pros and cons regarding cost, durability, and maintenance. Think about your budget, of course, but also how they’ll perform long-term in our humid Florida heat. Don’t just grab the cheapest option; get the one that makes sense for your home.
This is where you can’t skimp. Get your toolkit ready. You’ll need:
Don’t forget flashing tape – this stuff is crucial for weatherproofing. And make sure you have enough caulk; you don’t want to run out mid-job.
This is critical. Measure twice, cut once, right? You need to measure the rough opening for your new Pella window. Measure the height, width, and depth in several places. Pella usually has specific rough opening requirements – check those! Make sure your opening is plumb and level. If it’s not, you’ll need to shim it. Don’t wing this. A poorly measured or prepared opening is the start of a bad installation. Sketch it out, double-check everything. It saves a world of headaches later.
Okay, deep breaths. We’re getting into the actual installing Pella windows part. This is where all that prep work pays off. Remember, patience is key. Don’t rush this. If you’re unsure about a step, pause, re-read, or look up a video specific to your Pella model. Safety first, always.
Start by carefully removing any sashes or screens from the old window. Then, you’ll likely need to cut the sealant around the frame where it meets the house siding. Use your utility knife for this. Next, you’ll typically remove any trim or stops holding the window in place. Once the frame is exposed, you might need to remove nails or screws. Gently pry the old window frame out. If it’s really stuck, a reciprocating saw can be a lifesaver, but be careful not to damage the surrounding wall structure. And wear those safety glasses!
Once the old window is out, clean out the opening. Scrape away any old caulk, paint, or debris. Check the sill and jambs for any rot or damage. If you find any, repair it now. Use your level to check if the opening is plumb and level. This is crucial. If it’s off, use shims to bring it into square. A crooked opening means a crooked window, which will operate poorly and leak. Don’t skip this step; it’s foundational.
Now for the fun part: placing the new Pella window. Most Pella windows come with pre-drilled holes for fastening. Apply a bead of high-quality exterior caulk or sealant around the inside edge of the window frame where it will meet the wall. Carefully set the new window into the opening, making sure it’s centered and snug. Use your level again – check both sides and the top. Insert shims between the window frame and the rough opening where needed to ensure it’s perfectly plumb and level. Once it’s square and snug, secure the window using appropriate screws through the pre-drilled holes or shims. Start with a few fasteners on each side, checking for squareness as you go.
This is the weatherproofing stage, and it’s super important for energy efficiency and preventing water damage. Apply flashing tape around the exterior perimeter of the window frame, overlapping correctly to shed water away from the house. Then, use low-expansion spray foam insulation to fill any remaining gaps between the window frame and the rough opening. Don’t overdo it; too much foam can bow the frame. Finally, apply a good bead of exterior caulk around the exterior trim or where the window meets the siding. This seals out air and moisture.
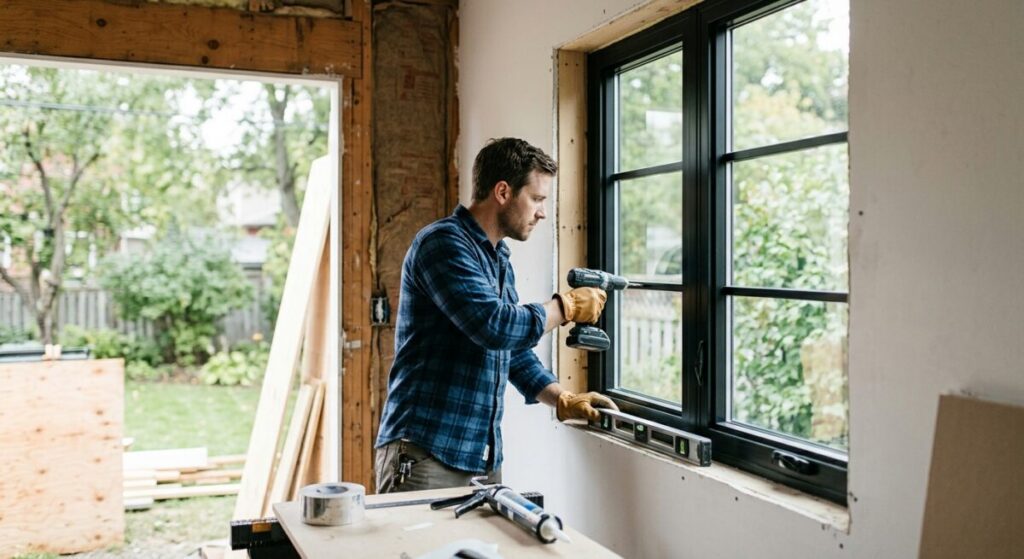
Even with the best intentions, DIYers often stumble into the same traps. Avoiding these common mistakes is key to a professional finish and a long-lasting installation. I’ve seen these go wrong more times than I can count, and they always lead to headaches down the line.
People think a little caulk is fine. It’s not. Inadequate sealing is probably the number one reason DIY window installations fail. Gaps, even small ones, let in air. That means higher energy bills – especially noticeable here in Tampa with our AC running constantly. It also lets in moisture, which can lead to mold and rot. Be generous and thorough with your sealant. Use a good quality exterior-grade caulk and make sure it’s applied evenly.
Seriously, get a good level and use it. A window that isn’t perfectly level and plumb might open and close okay initially, but over time, gravity takes its toll. The sash can sag, making it hard to operate, or the seals can fail, leading to leaks. It looks unprofessional, too. Take the time to shim correctly. It’s a small effort for a huge payoff.
This one is sneaky. If you overtighten your screws, you can actually crack the window frame or distort the seal. That compromises the window’s integrity and can lead to leaks or operational issues.
Conversely, under-tightening means the window isn’t securely fastened, which is a safety concern and can lead to drafts. You want the frame snug and secure, but not crushed. Learn the feel of “just right.”
Let’s get down to brass tacks: money. How does DIY installing Pella windows stack up against hiring the pros? It’s not just about the upfront cost; it’s about the long-term value.
For DIY, your main costs are the windows themselves, plus materials like caulk, sealant, shims, and possibly flashing tape. If you don’t have all the tools, you might need to buy or rent some. Let’s say you need a few new items. For a single window replacement, you might spend $50-$100 on materials. For a whole house (say, 15 windows), that could be $750-$1500 in materials. Your time is also a factor, of course. A typical DIYer might spend 3-6 hours per window, so 45-90 hours for a whole house. That’s a significant time investment.
This is where it gets expensive. In Tampa, labor rates for skilled trades have gone up. You’re not just paying for the installer’s time; you’re paying for their expertise, insurance, company overhead, and profit. For installing Pella windows, expect to pay anywhere from $300 to $800 per window for labor alone. For 15 windows, that’s $4,500 to $12,000 in labor costs. Add that to the window cost, and you can see why DIY is so appealing.
A well-executed DIY Pella window installation can add significant value to your home. Not only do you get the immediate savings, but you also get the benefit of new, energy-efficient windows. According to the 2025 Remodeling Cost vs. Value Report, homeowners recoup a significant portion of window replacement costs upon resale, often around 70-80%. A successful DIY job maximizes this return because your upfront investment was lower. Plus, you’ve gained a valuable skill.
| Factor | DIY Installation | Professional Installation |
|---|---|---|
| Window Cost | Same | Same |
| Labor Cost | $0 (your time) | $4,500 – $12,000+ (for 15 windows in Tampa) |
| Materials Cost | $750 – $1,500 (for 15 windows) | $200 – $500 (often included, but check) |
| Tool Investment | Variable (if you need to buy) | $0 |
| Time Investment | Significant (45-90 hours for 15 windows) | Minimal (scheduling, oversight) |
| Warranty | Pella’s product warranty applies; labor warranty is your own. | Pella’s product warranty + installer’s labor warranty. |
| Risk of Errors | Higher | Lower (with reputable installer) |
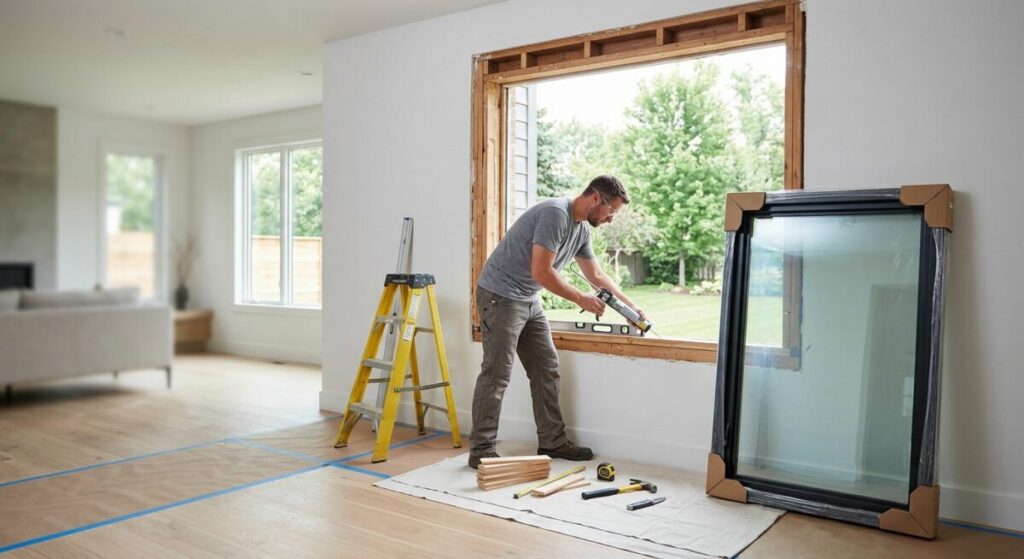
Look, I’m all for DIY. But let’s be real. There are times when calling in the experts is the smarter, safer bet. Installing Pella windows isn’t always straightforward, and some situations demand professional skill. Don’t feel like a failure if you decide it’s beyond your scope. It’s about knowing your limits.
If you’re dealing with an older home, especially one built before the 1980s, you might run into structural issues. Are the walls around your windows load-bearing? Is there any sign of rot, water damage, or structural compromise in the opening itself? If you suspect any significant issues with the framing or foundation around the window opening, stop. You need a professional assessment. Trying to force a window into a compromised opening can lead to serious, expensive problems.
While standard double-hung or casement windows are manageable for DIY, things get trickier with bay windows, bow windows, or custom-shaped Pella windows. These often require more complex framing, support structures, and precise alignment. If you’ve ordered custom-sized Pella windows that are very specific, or if the installation involves altering the existing structure significantly to accommodate them, it might be time to hand it over to the pros.
This is a big one. Pella offers excellent warranties on their products. That said, many of these warranties require installation by a Pella-certified professional to remain fully valid, especially concerning labor.
If you DIY the installation, Pella’s warranty will likely cover defects in the window unit itself, but they won’t cover issues arising from improper installation. If maintaining the full warranty is a priority for you, professional installation is the way to go. Always check the specific warranty terms for the Pella products you’re considering.
Key Takeaway: For standard window replacements, DIY installing Pella windows is achievable and cost-effective. Still, for complex installations, structural concerns, or if preserving the full Pella warranty is paramount, professional installation is strongly recommended.
Installation time varies but can range from 2-4 hours per window for experienced DIYers, longer for beginners. Factors include window type and complexity of removal.
Pella windows can be installed in most common wall types (wood frame, brick, stucco), but specific preparation and flashing techniques may differ.
The most common mistake is improper sealing and flashing, leading to water intrusion and air leaks, thus compromising energy efficiency.
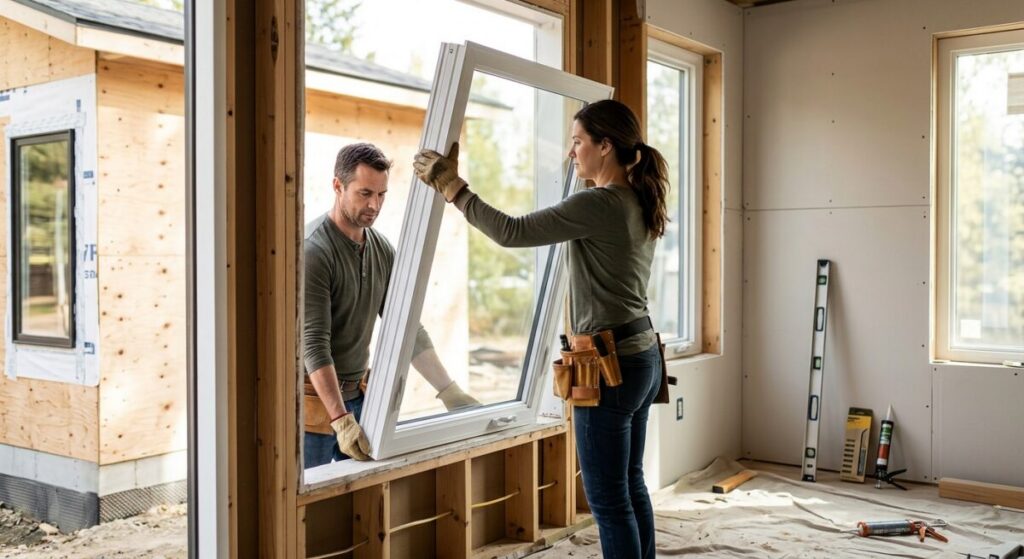
If you’re considering a Pella window upgrade, whether DIY or professional, our Tampa experts are here to guide you. Get a free consultation today!
If you're considering a Pella window upgrade, whether DIY or professional, our Tampa experts are here to guide you. Get a free consultation today!