
8414 Sabal Industrial Blvd, Tampa, FL 33619
Hurricane Strong. STH Strong
Mon – Fri 8:00AM – 5:00OM / Sat-Sun – Closed
August 11, 2026 · Reading time: ~10 min
Many homeowners wonder if they should tackle this themselves or call in a local specialist. The answer depends heavily on the type of door you are dealing with.
Replacing the peel-and-stick foam or simple compression bulb seals on a standard hinged front door—like a Therma-Tru fiberglass door—is an easy DIY project. It requires minimal tools and can be completed in under an hour. If the door frame is square and the door hangs straight, you can easily handle the weatherstripping replacement yourself.
Sliding glass doors and heavy impact-rated patio doors are a different story. If you have a high-performance system like the CWS® WINDPACT Vinyl Sliding Patio Door, the weatherstripping is integrated into complex tracks and interlocking channels. Replacing these seals often requires removing the heavy, double-paned impact glass panels from their tracks.
Drop one of those panels, and you are looking at a very expensive replacement. Furthermore, if your door frame has settled or suffered water damage from past storms, simply putting new rubber on it won’t fix the underlying issue. A professional installer can realign the tracks, repair structural damage, and ensure the seal meets local hurricane building codes.
If you have noticed a draft sweeping across your living room or a sudden spike in your electric bill, the culprit is almost certainly a worn-out glass and door seal. Replacing weatherstripping is the single most effective way to stop conditioned air from escaping and keep Florida’s brutal humidity outside where it belongs. For most standard entryways, this is a highly manageable weekend project that requires only basic hand tools, a roll of quality replacement material, and a bit of patience.
This guide is for Tampa homeowners who want to stop wasting money on air conditioning, eliminate annoying drafts, and protect their homes from heavy seasonal rains. Living in the Tampa Bay area in 2026 means our HVAC systems run nearly year-round, making proper energy efficiency a necessity rather than a luxury. When your seals degrade, you aren’t just letting in a warm breeze—you’re letting in moisture that can rot your door frame and breed mold. Let’s look at why these seals fail, how to spot the damage, and exactly how to fix them.
To understand why your seals are failing, you have to look at the environment outside your front door. Tampa’s coastal climate is incredibly tough on building materials. Between the intense ultraviolet radiation, high humidity, and salt air, the materials designed to seal your home are constantly under siege.
“In Florida, weatherstripping doesn’t just wear out from use—it literally bakes in the sun until it crumbles. By the time you notice a draft, the seal has usually been failing for months.” — Florida glass and door maintenance specialists
The Florida sun is relentless. Over years of direct exposure, ultraviolet rays break down the polymers in vinyl, rubber, and foam seals. This process, known as UV degradation, causes once-flexible materials to become brittle, crack, and shrink. Once a seal shrinks, it pulls away from the corners of the door frame, leaving obvious gaps for hot air to pour through.
Tampa’s humidity levels are notoriously high for most of the year. When humid outdoor air meets the cool glass of an air-conditioned home, condensation forms. This persistent moisture pools in door tracks and against weatherstripping. Over time, moisture weakens the adhesive backing on peel-and-stick foam tapes, causing them to peel away. It also creates a breeding ground for mildew, which further eats away at organic seal components.
Every time you open and close your doors, you apply friction to the weatherstripping. On high-traffic entryways or heavy sliding glass doors, this friction gradually rubs down the pile (the felt-like material) or compresses the rubber tubes. Eventually, the material loses its “memory”—its ability to spring back and fill the gap between the door panel and the frame. This is why even high-quality systems eventually need a fresh Sliding glass door seal to maintain their original performance.
You don’t have to wait for a puddle to form on your floor to know your seals are shot. Catching the signs of a failing seal early can save you hundreds of dollars in drywall repairs and energy bills.
The easiest test requires no tools at all. Stand inside your home at night with the entryway lights off and have someone shine a flashlight around the exterior door frame. If you see light slipping through the edges, your seal is gone. During the day, you can run your hand along the perimeter of the door. If you feel a distinct drafty doors Tampa breeze blowing through, the weatherstripping has lost its compression.
Tampa’s afternoon thunderstorms are legendary for their intensity. If you notice damp carpet, water stains on your baseboards, or small puddles in the track of your sliding door after a storm, your seals have failed. Water bypasses the worn-out barrier and uses gravity to find its way into your subfloor. If left unaddressed, this leads to expensive Door frame repair and structural wood rot.
If your TECO energy bill is climbing but your thermostat habits haven’t changed, your home is likely losing conditioned air. According to the U.S. Department of Energy, drafty doors and windows can account for a significant portion of a home’s heating and cooling energy loss. When cool air leaks out, your air conditioner has to run longer cycles to maintain the set temperature, wearing out your compressor prematurely.
Not all weatherstripping is created equal. The right material depends entirely on the type of door you have and how much traffic it sees. Choosing the wrong type will result in a seal that either fails within months or prevents your door from closing properly.
| Material Type | Best Used For | Durability in Florida | Difficulty to Install |
|---|---|---|---|
| Silicone/Rubber Gaskets | Hinged doors, heavy entryways | Excellent (Resists UV and heat) | Moderate (Requires slot or screws) |
| V-Strip (Tension Seal) | Sides of sliding doors, double-hung | Good (Plastic or metal options) | Easy to Moderate |
| Foam Tape | Door tops and bottoms, low-traffic | Poor (Adhesive fails in humidity) | Very Easy (Peel-and-stick) |
| Felt/Brush Pile | Sliding door tracks, bypass doors | Moderate (Can wear down from friction) | Moderate (Slides into channels) |
V-strips are durable plastic or metal strips folded into a “V” shape. When the door closes, it compresses the “V” to create a tight, spring-loaded seal. These are excellent for the sides of sliding doors because they glide smoothly and don’t bind up the mechanism.
While inexpensive and incredibly easy to apply, foam tape is generally a temporary fix in Florida. The high humidity quickly degrades the adhesive backing, causing the foam to sag and peel. Felt is slightly better for sliding tracks but tends to hold onto moisture, which can lead to mold issues in our climate.
For long-term performance, silicone and high-grade EPDM rubber are the gold standards. They don’t shrink in the heat, they remain highly flexible down to freezing temperatures (not that we see those often in Tampa), and they repel water completely. If you are sealing a high-end entry door, like a Therma-Tru Smooth-Star Half Lite 1 Panel Top and Bottom, a premium silicone gasket is what you want to preserve the door’s energy efficiency.
Ready to tackle the job? Follow these steps to ensure your new weatherstripping seals perfectly and lasts for years.
Many homeowners wonder if they should tackle this themselves or call in a local specialist. The answer depends heavily on the type of door you are dealing with.
Replacing the peel-and-stick foam or simple compression bulb seals on a standard hinged front door—like a Therma-Tru fiberglass door—is an easy DIY project. It requires minimal tools and can be completed in under an hour. If the door frame is square and the door hangs straight, you can easily handle the weatherstripping replacement yourself.
Sliding glass doors and heavy impact-rated patio doors are a different story. If you have a high-performance system like the CWS® WINDPACT Vinyl Sliding Patio Door, the weatherstripping is integrated into complex tracks and interlocking channels. Replacing these seals often requires removing the heavy, double-paned impact glass panels from their tracks.
Drop one of those panels, and you are looking at a very expensive replacement. Furthermore, if your door frame has settled or suffered water damage from past storms, simply putting new rubber on it won’t fix the underlying issue. A professional installer can realign the tracks, repair structural damage, and ensure the seal meets local hurricane building codes.
To put this into perspective, let’s look at a real-world example from a home we serviced in South Tampa near Bayshore Boulevard. The homeowners were struggling with a master bedroom that always felt humid and warm, despite the air conditioning running constantly. Their monthly utility bills were sky-high.
Upon inspection, we found that the original seals on their fifteen-year-old sliding glass doors had completely degraded. The pile weatherstripping had worn down to the backing, and the bottom sweep was torn, allowing humid salt air to draft directly into the bedroom. The AC was working overtime to pull moisture out of the air.
Because the old doors were structurally worn, the homeowners opted to upgrade to a high-efficiency CWS® COMFORT SHIELD Vinyl Sliding Patio Door. This modern system features dual-pane glass and multi-chambered vinyl profiles with high-performance weatherstripping designed specifically to block heat transfer. Within two months of the installation, the homeowners reported a noticeable drop in their TECO energy bills, and the bedroom finally matched the temperature of the rest of the house. This case shows that while replacing a seal can extend the life of a decent door, sometimes upgrading to a modern, high-performance system is the smartest financial move for long-term savings.
To get the most out of your newly installed glass and door seals, keep these maintenance tips in mind:
In Tampa’s hot and humid climate, you should expect to replace standard weatherstripping every 3 to 5 years. High-traffic doors or entryways with direct afternoon sun exposure may require more frequent replacement to maintain peak energy efficiency.
While you can replace simple peel-and-stick seals yourself, replacing the internal channel weatherstripping on heavy sliding glass doors is challenging. It often requires removing the heavy glass panels from their tracks, which is best left to professional installers to avoid damage.
For a deeper look, see Glass and Door Condensation: Causes and Easy Fixes.
Silicone and high-grade EPDM rubber are the best choices for hot, humid climates like Florida. These materials resist UV degradation, maintain their flexibility in extreme heat, and create a highly effective barrier against moisture and heavy rain.
Yes, replacing worn door seals can significantly reduce your monthly energy bills. By stopping conditioned air from escaping and preventing hot, humid air from entering, your HVAC system won’t have to work as hard to maintain a comfortable temperature.
Based on this article, here are products that might help you:
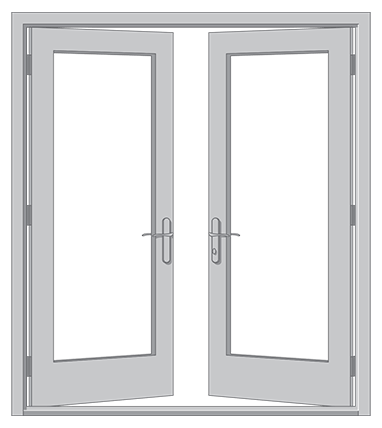
Get protection from hurricanes, intruders and high energy bills with a CWS vinyl impact French…
View Product
Gliding horizontally along a track, CWS WindPact vinyl impact sliding patio doors protect homes from…
View Product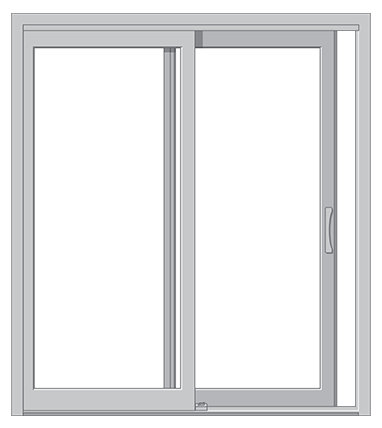
Gain peace of mind with a CWS sliding patio door. This strong and durable sliding…
View Product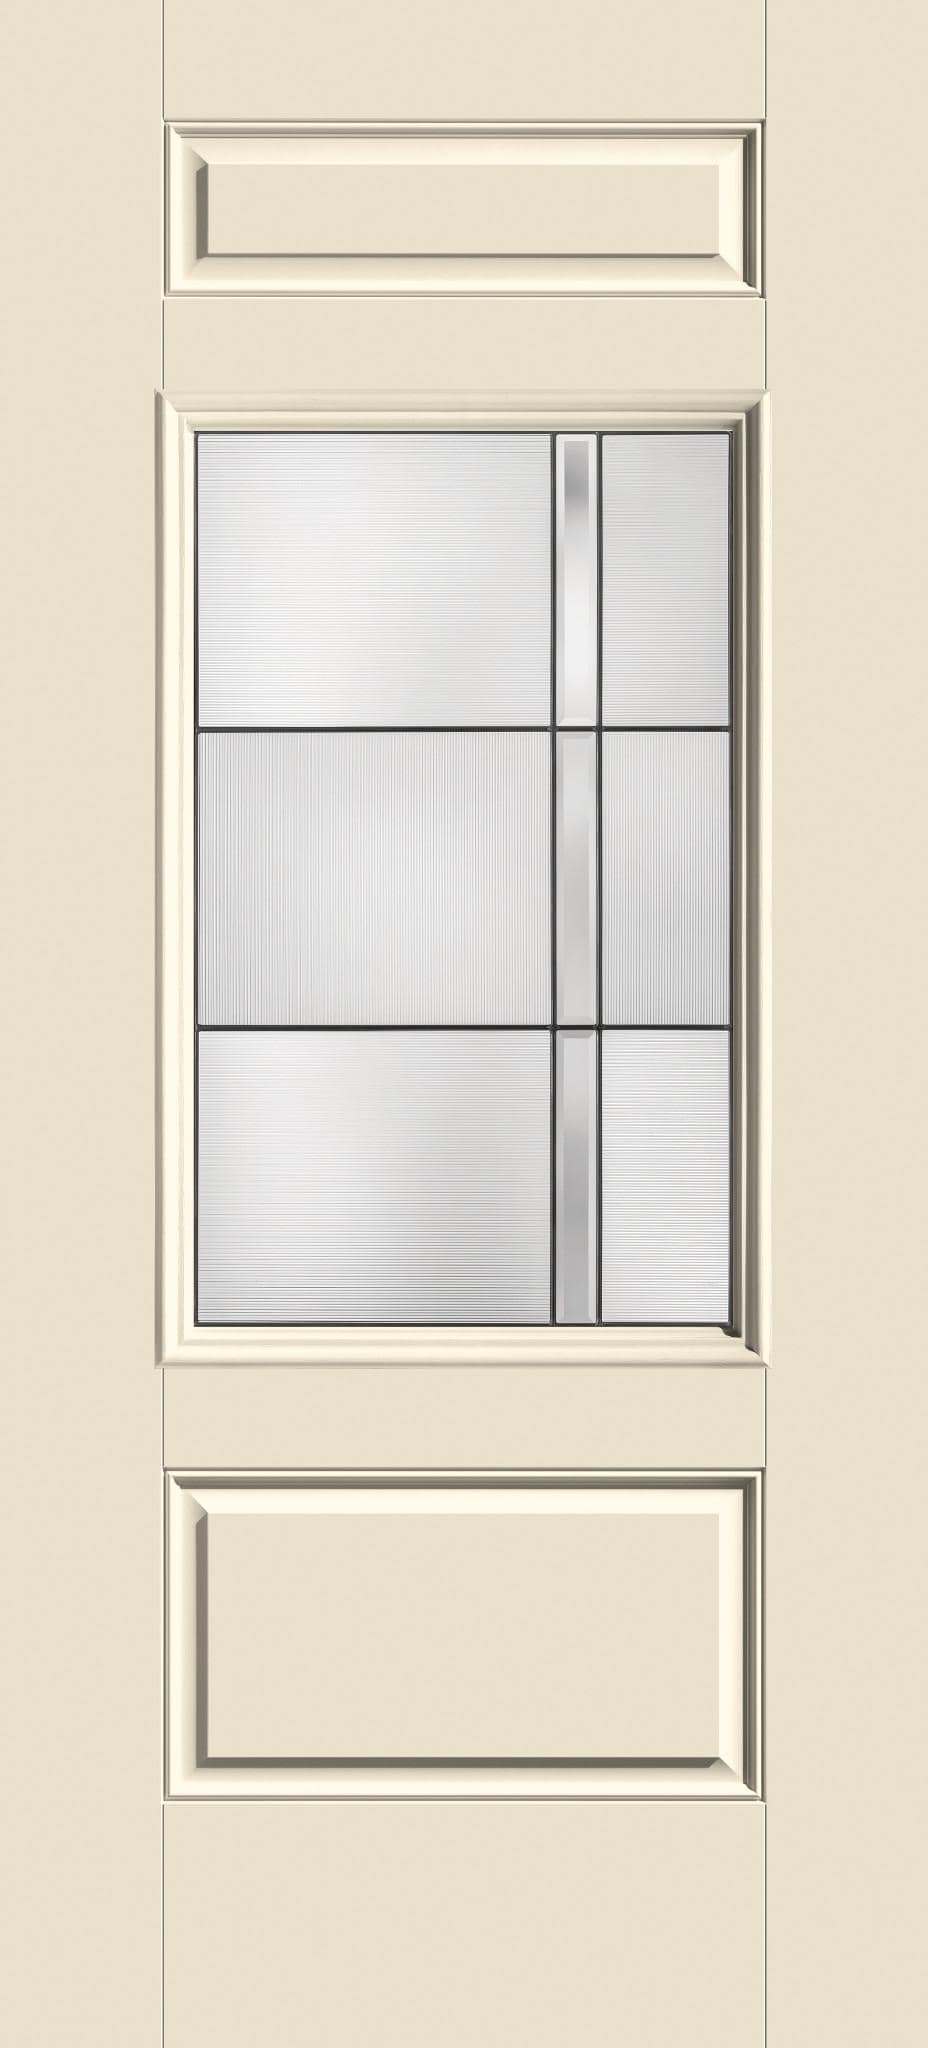
Looking to add a splash of color to your entryway? The Half Lite 1 Panel…
View Product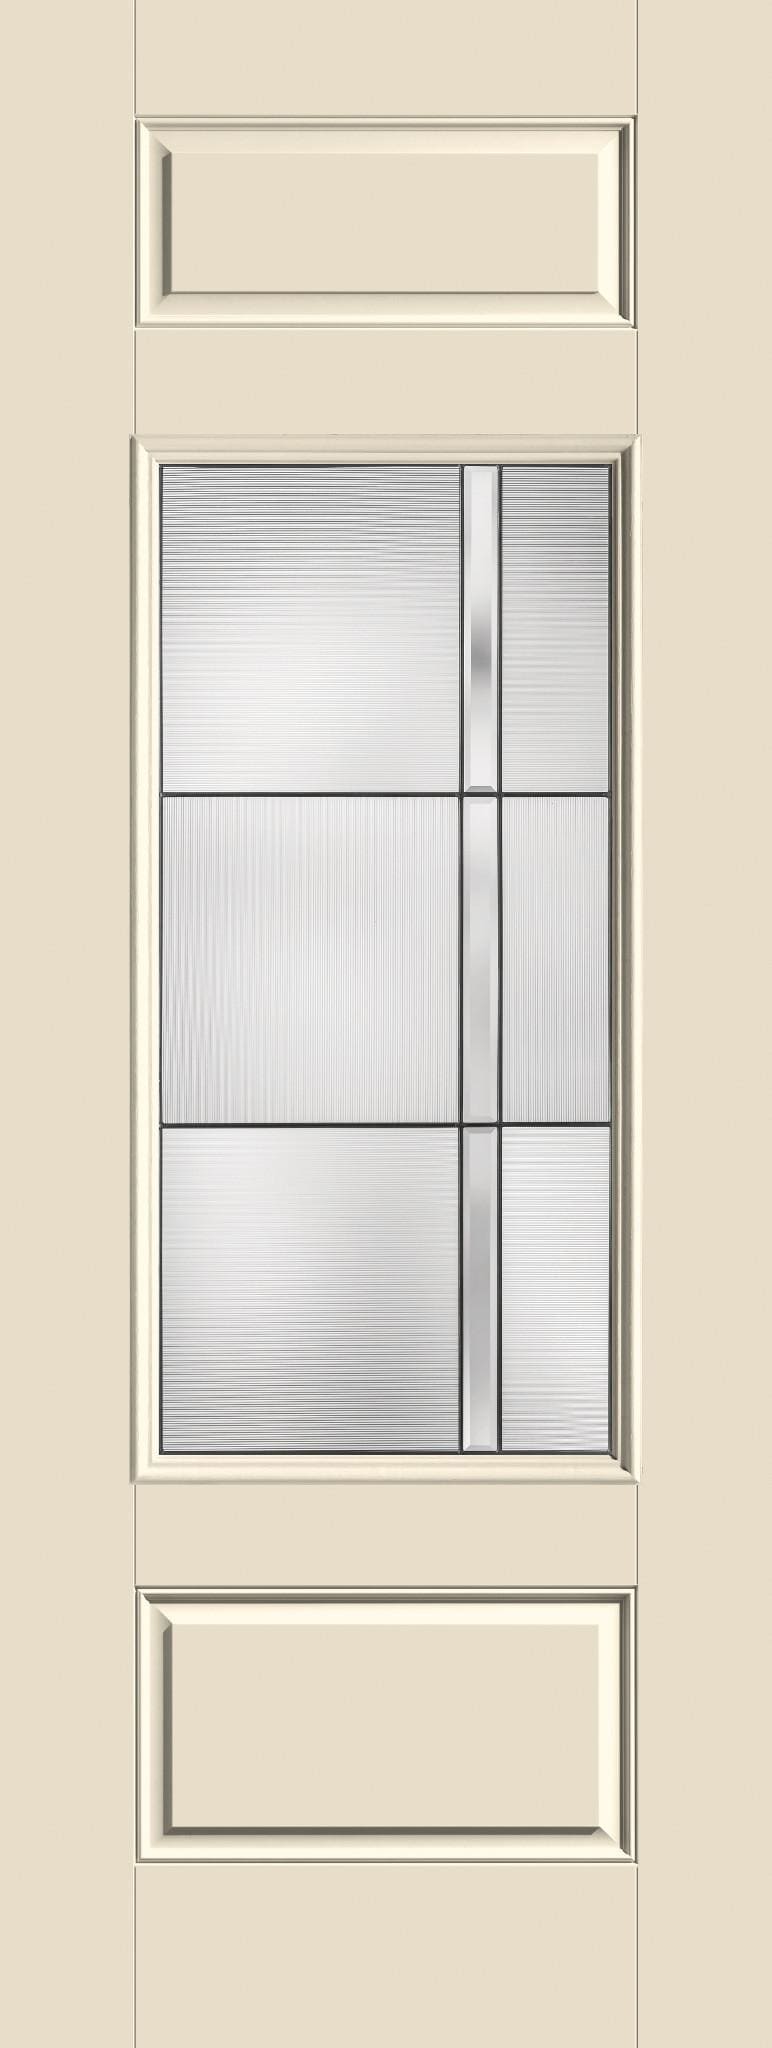
Looking to add a splash of color to your entryway? The 8' Half Lite 1…
View Product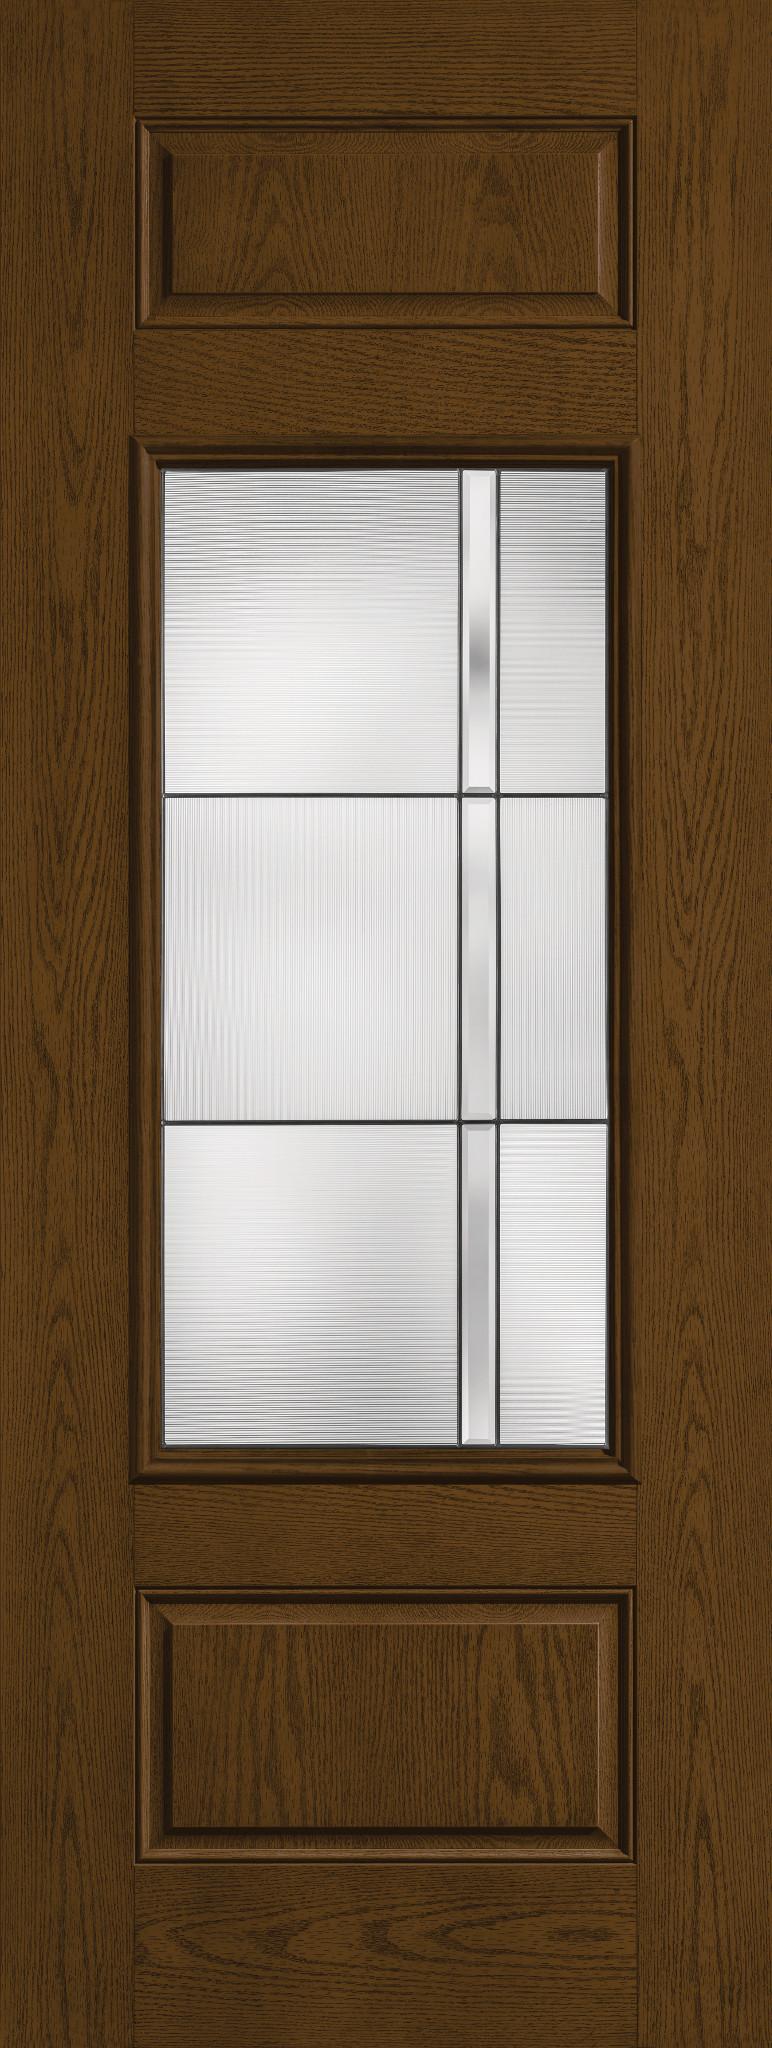
The 8' Half Lite 1 Panel Top and Bottom is the door that started the…
View ProductDon't let worn-out seals waste your cool air and drive up your energy bills. Contact our expert team today for professional window and door seal repair in the Tampa Bay area.