
8414 Sabal Industrial Blvd, Tampa, FL 33619
Hurricane Strong. STH Strong
Mon – Fri 8:00AM – 5:00OM / Sat-Sun – Closed
Updated October 1, 2026 · Buyer’s Guide
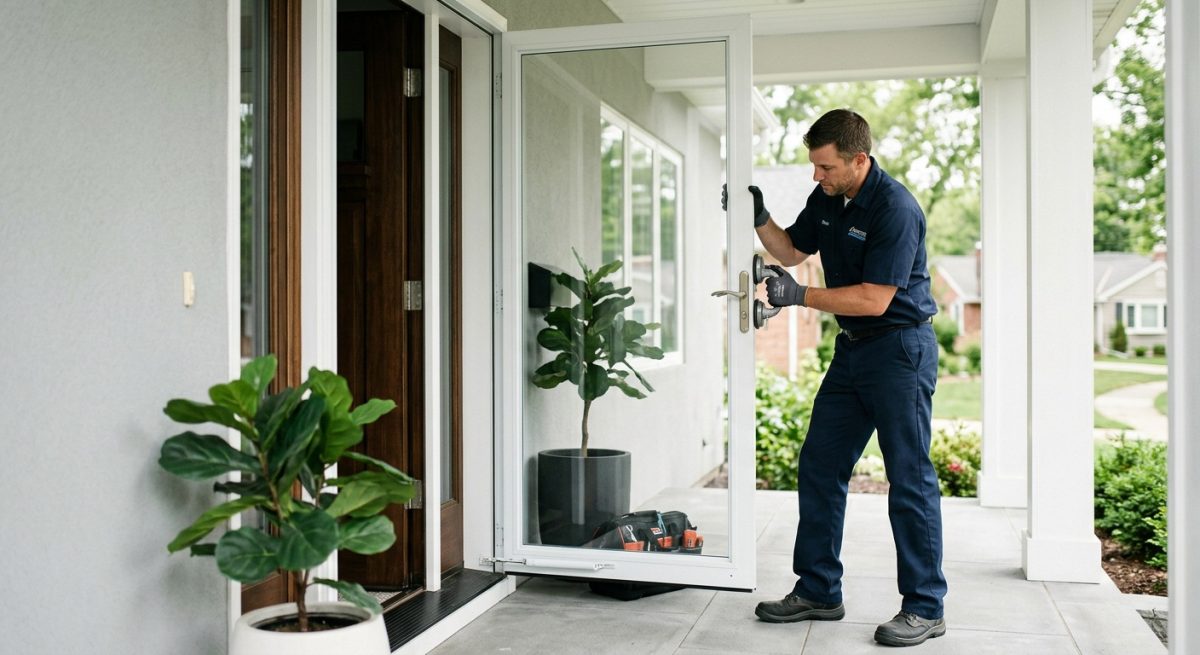
A cracked or foggy storm door panel feels like a small problem, and sometimes it is. Whether replacing only the glass is the right move depends on what kind of glass you have, how it is held in the door, and what shape the rest of the door and the entry behind it are in. A new pane in a worn-out door only fixes one of its problems.
To be clear about who we are: this page is not published by Andersen, and STH Windows & Doors does not list Andersen’s parts, glass sizes or specifications. Storm doors and storm door glass are not among the products we list on our site, and we will not pretend otherwise. What this page does give you is a way to identify what you have, a short safety note, a plain look at when glass-only makes sense and when the problem points at the entry itself, and the impact-resistant entry doors we do carry in Tampa, St. Petersburg and the surrounding area.
Replacement glass has to match the door in front of you, so a few minutes of careful looking now can save you a wrong order later.
Look along the edges, the hinge side and the frame for a label, stamp or model marking, and dig out any paperwork from the purchase or the builder. Take clear photos of the full door, each corner, the closer, the latch and any marking you find. Photos make it far easier for a parts supplier or the maker’s support team to tell you what fits.
Storm door panels are generally safety glass, such as tempered or laminated glass, or a plastic panel, and some doors carry a removable glass-and-screen insert. Tempered glass often has a small etched mark in one corner and, when it breaks, crumbles into small pebbles. Laminated glass cracks but tends to stay in one piece. A replacement should be the same safety type, never plain window glass, because a door pane is where people lean, bump and slam.
Some panes sit in a gasket or spline, some are held by a snap-in bead, some by screws and a metal retainer, and some are bonded into an assembly that you replace as a unit. How yours is held decides whether a swap is a reasonable weekend job or one for someone with the right tools. We are not going to give you a step-by-step removal procedure here, because the correct one depends on how your door is built.
Look for daylight at the corners, a frame that has racked out of square, loose or corroded hinges, a closer that leaks or slams, worn weatherstripping, and rust or swelling at the bottom rail. One of these on its own can usually be fixed. Several at once mean a new pane is a patch on a door that is already on its way out.
A storm door is an extra layer in front of the entry door. When the glass has failed, look past it at the entry door and its threshold: peeling finish, softness at the bottom edge, water stains inside, or a door that sticks and will not seal. In the wind-borne debris region along the Tampa Bay coast, do not assume a storm door counts as approved opening protection. Products sold for that purpose carry a Florida Product Approval or Miami-Dade approval number, which you can look up on the Florida Building Commission site, and your permit office makes the final call for your address.
Cracked glass can let go without warning. Wear gloves, eye protection and closed shoes, put tape across a cracked pane before you handle it, keep children and pets out of the area, and work with the door laid flat on a padded surface rather than standing. Sweep up with a damp towel instead of bare hands. If any step feels beyond your comfort, have a professional handle it.
If you are collecting quotes, put every one through the same questions. A quote that looks simple often looks that way because it skips half of what is on this list.
| Question to ask | What a clear answer tells you |
|---|---|
| Which glass type is being supplied | Confirms the replacement matches the safety type of the original, not plain glass. |
| Whose measurements the order is based on | A size verified at your door avoids the most common reason a replacement pane arrives wrong. |
| Whether gaskets, beads or retainers are replaced too | Old seals that get reused can fail soon after the new glass goes in. |
| Whether the frame, hinges and closer are inspected | Shows if the quote fixes the cause of the problem or only the visible damage. |
| What happens to broken glass and old parts | Cleanup and disposal should be named in the quote, not assumed. |
| Whether the entry door behind it is looked at | A thorough estimator mentions the threshold, weatherstripping and slab if they are in poor shape. |
| Warranty terms and who services the work | Ask what is covered, for how long, and who you call if the new glass fails. |
If you are comparing Andersen with other brands, or comparing a glass-only fix with a full door swap, this is the list to use. Make sure every quote covers the same size, glass type and scope, so you are comparing like with like.
We do not list storm doors or storm door glass on our site. If the cracked pane has you rethinking the entry itself, these are the lines you can browse on our site, and the impact-resistant category gathers the options built for Florida’s wind-borne debris region.
For the big picture, start with our doors overview.
A glass-only fix makes sense when the damage is limited to one pane, the frame is square, the hardware works, the door seals, and you can get glass of the same safety type in the right size. It is the wrong move when the glass is only the first thing to fail, when the door no longer seals, or when you have been patching it every season.
When the signs point past the storm door to the entry, the next step is to look at the entry door itself and what protection it gives your home in hurricane season. Call or request a free estimate, tell us about the opening, and we will talk through the options with our no-pressure approach. Ask about our financing options too.
If a failing storm door has you thinking about the entry behind it, tell us about your opening and we will walk you through the doors we carry. Call (813) 775-4113 or request your free estimate.